Beauty-Style Photography Retouch: Colour Adjustments
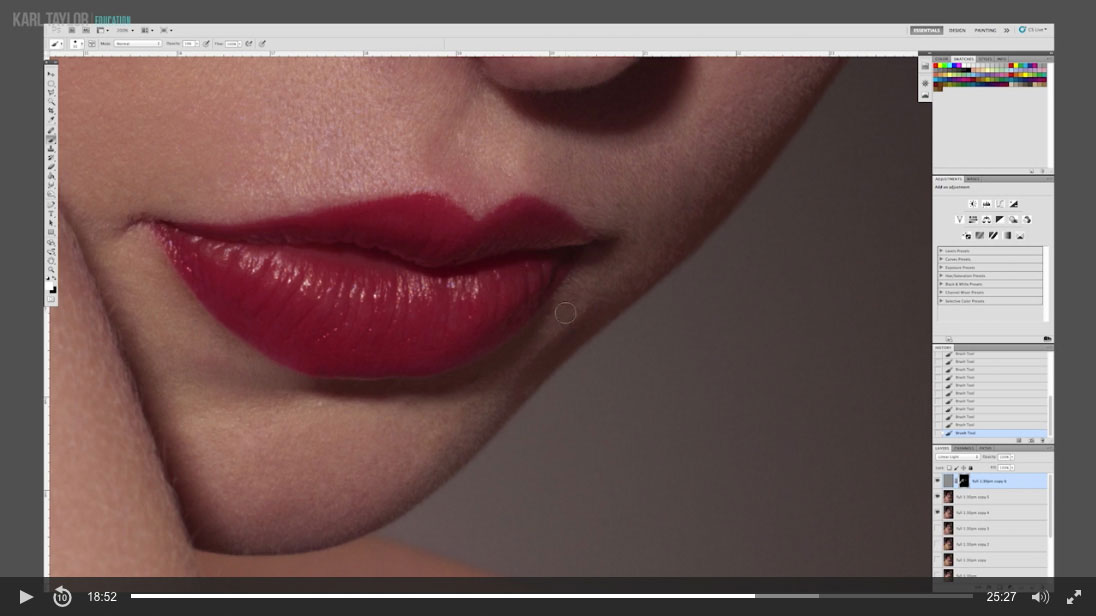
Here Karl looks at whitening the eyes of the model and editing some of the colouring to make the image seem more cohesive.
Only $19 per month

Here Karl looks at whitening the eyes of the model and editing some of the colouring to make the image seem more cohesive.
Adobe Photoshop CS5
Eizo coloredge CG243W
Promise Pegasus R6 16TB
Drobo 5D
Comments
I would like to have the file to work along. How can I get it?
Hi, some of our classes have downloadable files to work along with but unfortunately this one doesn’t due to model usage restrictions.
Hi,
Is it possible to place this photo in the ‘Photoshop For Photographers’ work along files?
I would like to try retouching this example in accordance with the instructional videos.
Hi Karl ,
I’ve noticed that you retouch your photos using mac pc, but why won’t you do that on your calibrated display that stays next to it? The difference in color is visible even on video..so how you can be sure that you use right colors?
Hi Anna, I do all my own and client retouching on a Apple computer linked to either a Wacom Retouching Screen or to my Eizo colouredge screen, both of these are professional calibrated screens. Anything that you see me doing differently in our videos is purely in order to be able to record what I’m doing for the videos that you watch.
It’s very interesting! If you use both -which one do you like the most? I mean your Eizo or Wacom. As both of them are calibrated that is great for retouching – which of them is more convenient? I mean if the price almost the same which one would you recommend to buy for the beginner?)
Thank you fr your patience)
Hi Anna, I prefer the Eizo and a separate smaller tablet, better picture.
HYE KARL ! WHEN TALKING ABOUT “APPLY IMAGE TECHNIQUE”, ARE YOU MEANING A KIND OF FREQUENCY SEPARATION ? If yes, what do you think of it ?
Yes and it is covered in another one of the retouching tutorials in the ‘post production’ section. I use it only occasionally now as there are preferred techniques in the Advanced Photoshop course but I still use one of my frequency separation techniques for speedier situations.