


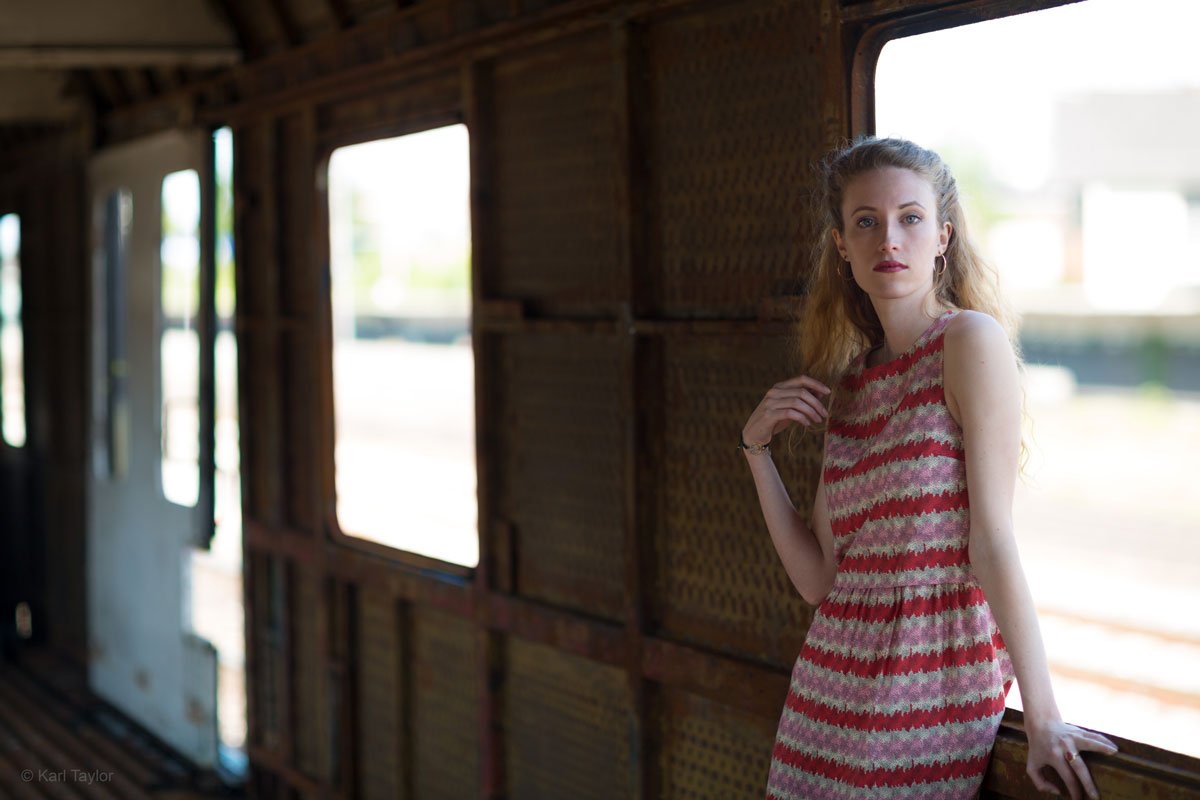
The Train Carriage
Get on the fast track to perfect portraiture.
This natural light photography course will help you master a number of different techniques when using just natural light and your camera.
From watching the previous chapters of this section you’ll have learnt that there are certain times of day that are best for photography. Midday is not an ideal time to photography as the light is often harsh and unflattering, but there are ways around this, which is what this photography class shows you.
In this chapter, Karl shoots some great shots inside an old train carriage using just the natural light coming in from the windows. Using the carriage as a creative backdrop, Karl demonstrates a number of different portrait ideas and explains concepts such as white balance and why it’s important to think about your background.
In this class:
- Portrait photography using natural light
- How to use natural light for outdoor portraits
- Photographing in harsh sunlight
- Creative locations for portrait photography
Questions? Please post them in the comments below.


Comments
Really enjoying the breath of your instruction and focus on artistic and photographic principles rather than a formula. Now I just need more hours in the day to practice more! Lol.
I notice in the image you share on the page here that the highlights are fully blown out. I was wondering if you could comment, or point to a class where you discuss when to worry about that and when not to. Perhaps the shallow depth of field helps since everything outside is already very blurred. But when do bright area cause too much pull on the eye and should be avoided?
I must admit I sometimes underexpose to try an compensate for this and then recover shadows, but I suspect the range in this location was so high that would not really do much to help. I have been very impressed what my Fujifilm GFX can do pulling out shadows with its extra few bits of data. I was curious if you change any of your approach in natural light portraits when switching between 35mm and medium format.
Hi, thanks for your comments. Natural light can be tough especially at this time of day, what I was mainly trying to demonstrate in this class though is that even here at the harshest time of day we can find something worth shooting, in this case by moving it partially indoors. Yes the highlights are blown in some of the shots depending on which way I’m facing, but in that instance they wouldn’t have been recoverable so I just had to roll with my scene. My favourite shots though are at 6:28 and 7:20 where things are kept under control in line with the shooting direction. Later in this series we look at other ways to deal with harsh light as well as better times of day.
Hi Tylor
Please I have a question regarding the Lense type, In this Video you used 85 mm lense, in the previous videos you used 70 – 200 mm & 50 mm Lenses. How can I decide which one is the suitable in my session ?
Thanks in advance
Hoda
Hi Hoda, it depends on your sessions really and what you are trying to acheive. My 85mm is better suited as a pur portrait lens especially where I need large aperture settings. It’s also easier to handle than the heavier 70-200 which is also only 2.8 capable.
Hi Karl, thanks for showing the Kalvin adjustment during this video. Do you have other video that discus this further? When reducing I understand you’re looking to make it cooler but to also simulate a more natural light feel?
Here’s one that comes to mind – https://visualeducation.com/class/lighting-and-colour-balance/ and here’s another – https://visualeducation.com/class/understanding-light/
Hi Karl,
Thanks for these great tutorials, are you using Spot Metering and exposing for the skin tones when you’re creating these images?
Thanks
Rob
Hi Rob, yes spot metering would help in this type of scenario with strong backlighting but to be honest I don’t often know which metering mode I’m in, I just get in the ballpark, look at the result and adjust manually.
HI Karl, I am unfamiliar with Photoshop but after seeing you remove those barrels at the back I’m intrigued. What is the name of that function so I know where to look in your Photoshop course. Best regards!
Hi Greg, if you’re new to Photoshop then you need to start here and follow the order of the course to get the best out of it. https://visualeducation.com/class/retouching-recommended-equipment/
Hi Karl. I have question about color – as you’ve said in video white balance was very warm and red , but when I look at the photo all skin tones look not natural but blue for me – is it a problem with my display (it is I think as it’s a laptop) or it is that very tone that you wanted?
Another question – do you use your gray card every time you shoot or you can adjust white balance yourself ? I mean often we don’t have anything to start with -when we definitely know what color it should be (like white paper or gray concrete or whatever).
Hi Anna, using a color checker or grey card in your first series of shots is a good idea if you are shooting RAW files as you can more easily take a reading from the grey card to then ensure the shots in that series are neutral. You can do this with a white piece of paper too as long as you don’t overexpose the white paper. Or alternatively you can just slide the color temperature dials in your software such as LR and choose what you think looks good but you would need a color calibrated monitor to do that. See our LR courses in the Post Production section for more info.
Hello Karl. I noticed you had your reflector with you, did you intentionally not use it in order to create an artistic efect based on the difference between lights and shadows?
Hi Bogdan, it was used on one or two of the shots as shown in the video.
Loving the courses, Karl. You are a genius! I also wondered about the reflector. What guided your decision in whether you needed to use a reflector or not in this case?
Hi Susan, thank you for your kind words. Outdoors you will often find the reflector necessary to bounce light back into the shadows. In doors or in this case inside this carriage there was light coming in from both sides so it wasn’t essential for all the shots but occasionally it improved the lighting. I always take a couple of test shots, evaluate and then make a decision.
Hi Karl
Your videos are, without doubt, the best I have discovered and are a constant source of advice. I must admit that, as a beginner, I get incredibly confused by the plethora of conflicting advice I find on YouTube!
Many photographers on YouTube tell me that I must use a Lightmeter. YOUR advice is straight forward and logical – shot images and decide what exposure suits your concept and the lighting conditions. I agree with you! You can take a dozen images to test exposure in the time it takes to get a Lightmeter out of the bag!
But what’s your view on two other subjects? Light leaks when using a 10 stop big Stopper and the use of colour checker passports? I noticed in one of your videos (in the brilliant Iceland series) that you never cover the eyepiece to avoid light leaks. Other folk say you should!!! In your opinion, is covering the eyepiece overkill.
Again on YouTube, there are loads of videos telling me that I should always use a colour checker as the first shot of a series, but I don’t recall ever seeing you use one. What is your advice please? Given the brilliance of your work I’d rather take your advice rather than the hoards of “photographers” on YouTube.
Hi Peter, thank you for your kind words. You shouldn’t have a problem with light leaks on the big stopper itself if the sponge seal is gripping to the filter holder correctly as for light leaks through the camera viewfinder then yes theoretically this could be a problem. Some of the top pro cameras have a built in ‘blind’ that closes in the viewfinder when you flick a a switch, others have a rubber plug on the camera strap that fits in the eyepiece or you can just throw a cleaning cloth over the back of the camera etc. I must admit I don’t pay too much attention to it as I’ve not noticed a problem without them!
Seems to be a Swiss train carriage, where in Switzerland is that? ?
Hi Giovanni, it was near Basel.