


Making and Using Masks
In this Photoshop class, which forms part of a series covering essential Photoshop tools, Karl looks at masks in Photoshop, what they are and how to use them.
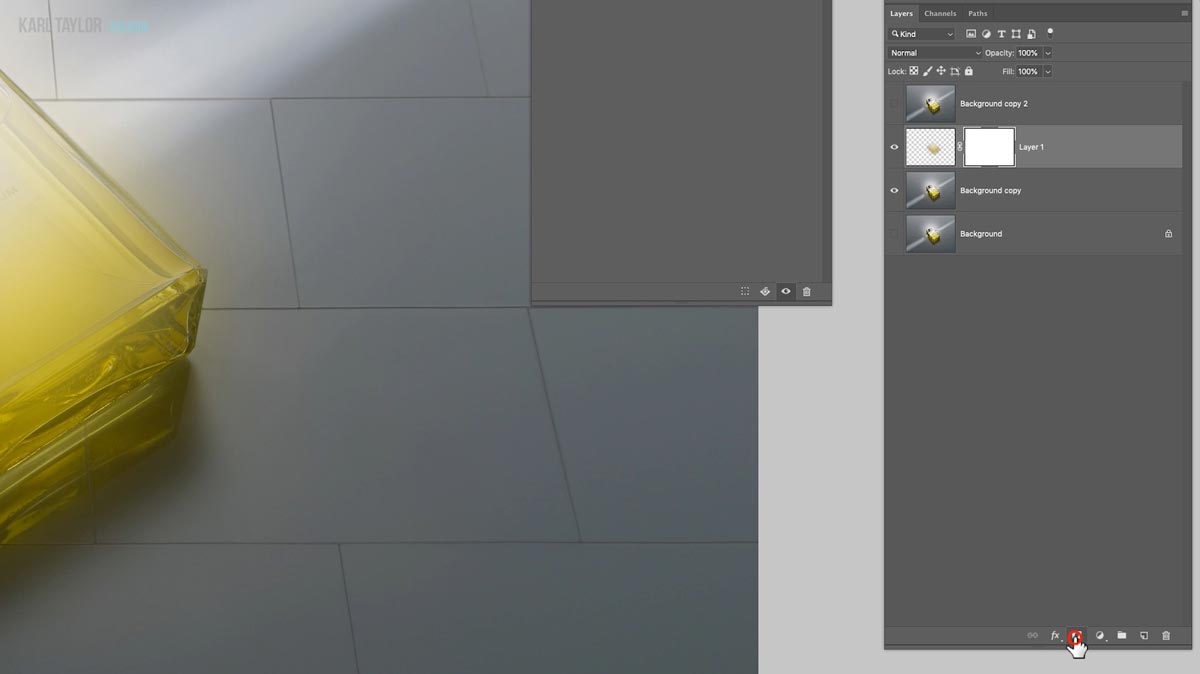
Masks are a useful tool that can be used to hide portions of a layer and reveal the layers below. They can be a valuable technique for applying adjustments to particular areas of an image, combining multiple photos into a single image or for removing objects from a photo.
In this class you’ll learn how to invert masks, view a mask, create selections from masks, group masks, mask groups and much more. Through practical demonstrations, you’ll learn how to create and use layer masks to hide or reveal particular areas of an image and apply particular adjustments.
This Photoshop class covers the following:
- What are masks
- How to create a layer mask in Photoshop
- The advantages of using masks
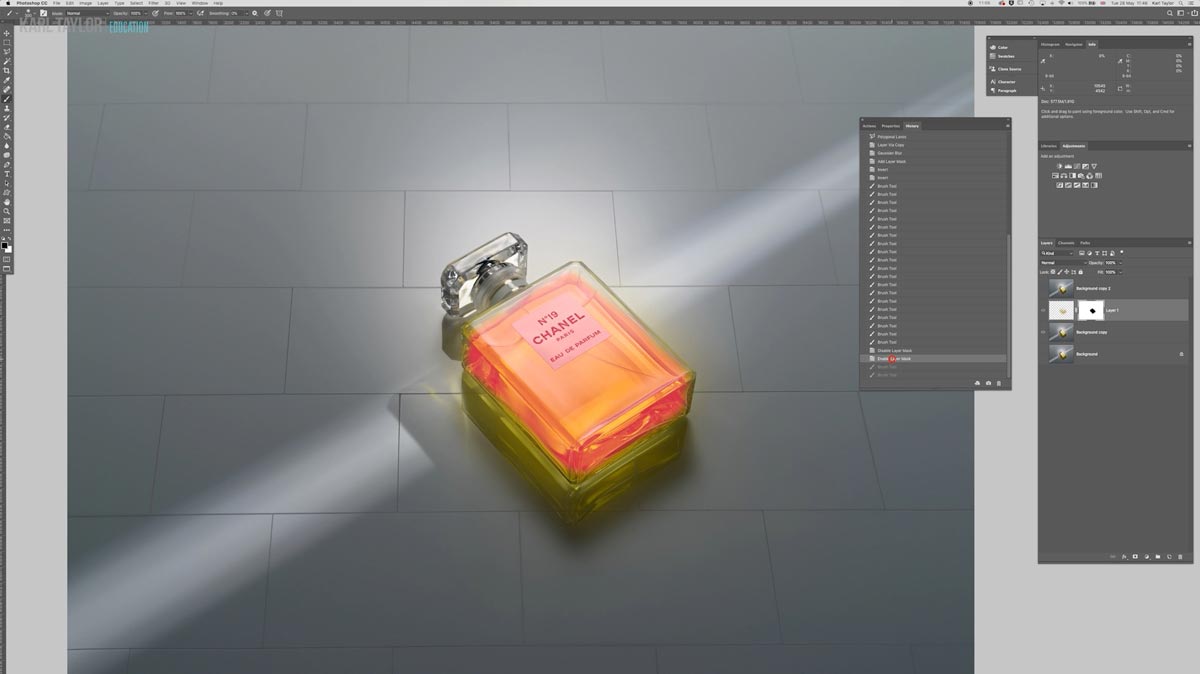
- Using black/white brushes to hide/reveal part of the mask
- How to adjust flow and opacity of a mask
- How to adjust mask edges
- How to display layer masks
- Making selections from layer masks
- Grouping masks
- Adding masks to groups
If you have any questions about this class, please post in the comment section below.
Key concepts
How to create a mask.
How to create a mask in Photoshop.
How to hide/reveal through a mask.
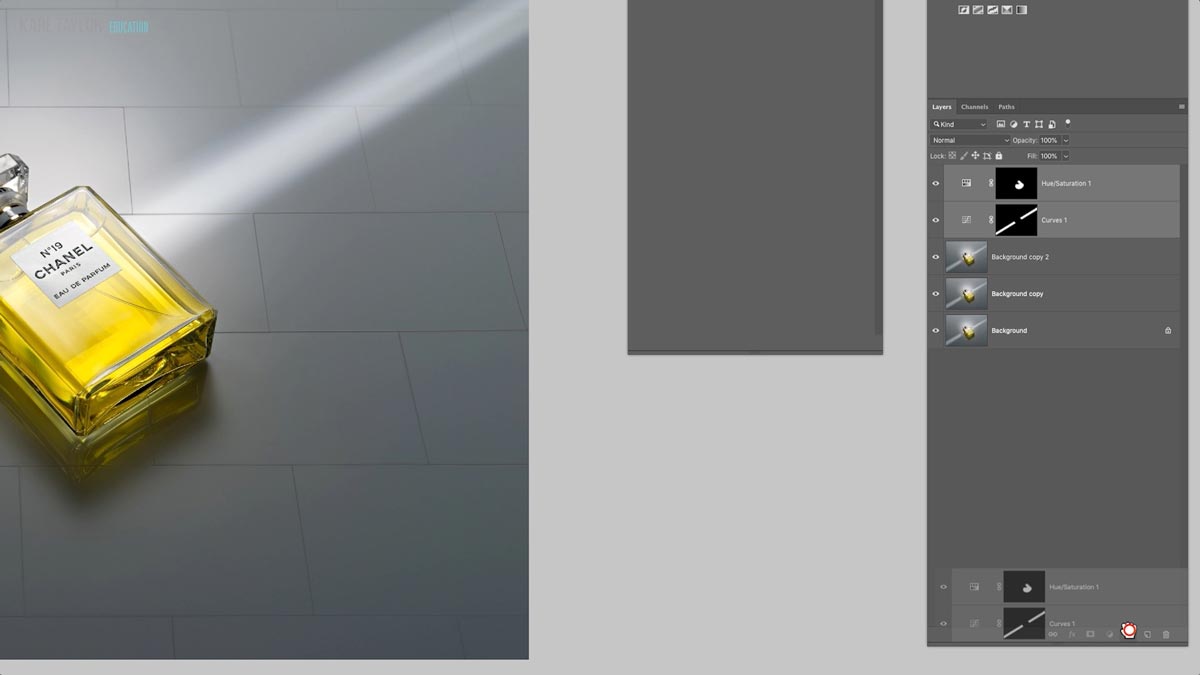
Masks can be used to hide or reveal adjustments or areas of an image.
Refining masks.
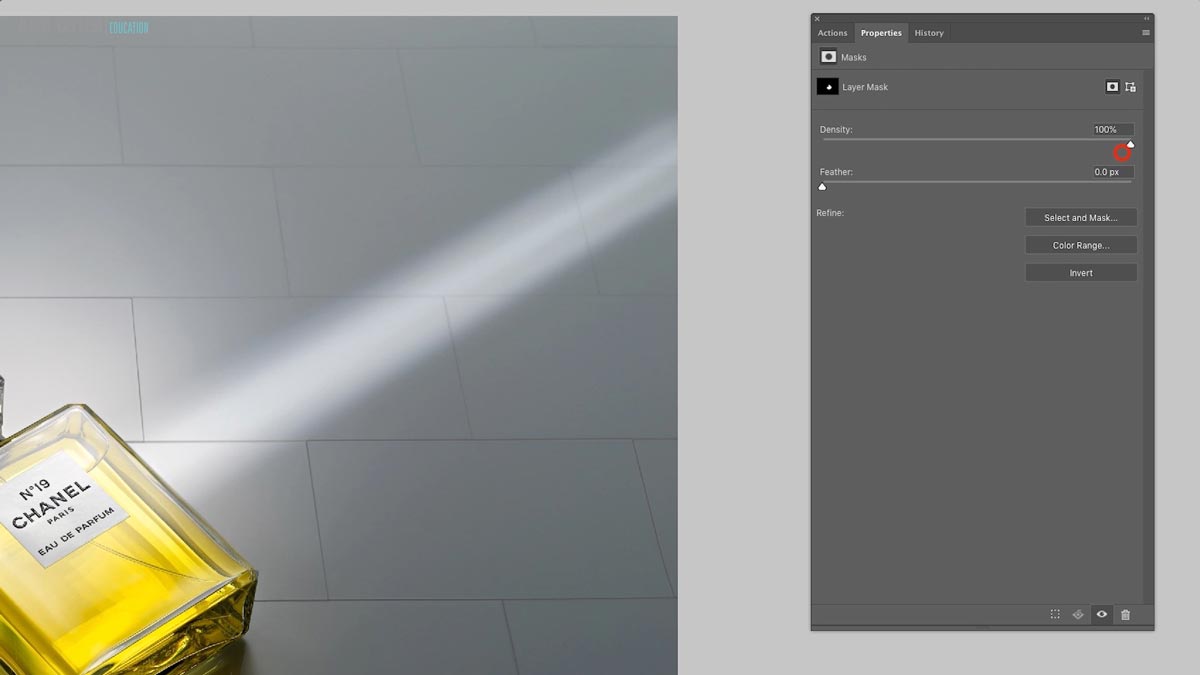
Masks can be refined by adjusting the density or feather.
Making selections from masks.

Selections can be created from masks.
Grouping masks.
Multiple masks can be grouped together for greater organisation.
Comments
Any recommendations about image qualities that are ideal for trying these techniques out? Without sample images this is largely just a “watch me” exercise. I have a ton of images to work with – but I am finding it hard to locate an image that lends itself to trying out what is being shown.
Hi Douglas, we have downloadable images in our downloads section that you are welcome to use for practise.
Understood. I have those – but am not finding them useful for the masking segment. I was hoping for some advice on image qualities that are good for masking practice. The product image in the downloads is a bit too simple – but the other images seem to go the other direction.
Hi Doug, I’m afraid I don’t really understand. From my point of view any image can be used to create a mask, especially one for creating what is just an exposure change on the scene such as this strip of light. In this class https://visualeducation.com/class/practical-demonstration-on-beauty-retouch/ there is a similar use of masks where I change the colour of the glasses on the models head, I believe there is a downloadable file to work along on this that would demonstrate similar techniques? I wouldn’t say there is any particular image quality in terms of the image content that would make a big difference. The fundamental of what is being done in this class is that I’m taking an area of an image that has a patch of light and I’m enhancing that further with masks or I’m utilising masks to shift the colour in an area of an image on the product. If you have an image in your library (or use the one of the model with glasses on her head) that has similar aspects of an area that could be lightened or enhanced then I think that will work and it is often more useful to see the effect in another scenario to enforce the process. Try it with the model with the glasses and see how you get on and let me know if you have any questions.
Hi Karl. Great site. In your mask tutorials I’m pretty sure you never finish by going into merging or flattening all the masks and layers for the final image. Is there any difference in procedure or end result when doing this? Do you have to treat the masks that are being used any differently to reach the final result?
Thank you. Andy
Hi Andy, thank you. B&D masks often don’t provide the ‘finished article’ look until they are flattened down into the final image. As I often want to keep the layered files to go back to then instead I use a command (command, option, shift, E) to merge all visible layers together at the top, that then provides me what I need to know especially with very light touch B&D layers which can look a bit patchy on some areas until merged. As you will see in some classes I run a very large PSB file with lots of layers and then it gets to big and I flatten out to a new PSD file with one layer (but keeping any alpha channels for saved selections) and then I’ll carry on working on that file which is faster in PS. Cheers Karl.
Hi, yesterday I had to photographed a 3D crystal engraved with a human face inside, I tested with some lights but it did not worked well, any suggestions for this kind of photography.
thank you
Lloyd.