
Final Touches
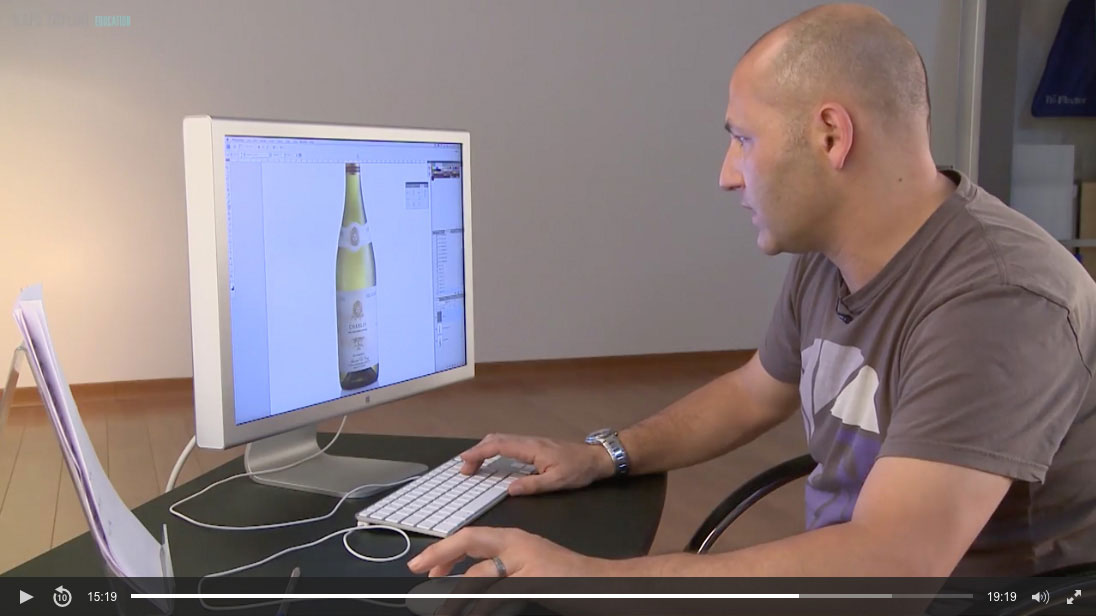
In this Photoshop class Karl adds the final touches to this product retouch. Here he focuses on removing the unwanted reflections in the bottle, using a number of useful tools and techniques to achieve a smooth and even gradient throughout.
Using tools such as Burn and Dodge, the Spot Healing Brush, Patch and Transform tools, Karl shows you how to effectively use these to achieve a perfect final image.
Although applied to a product image, the techniques demonstrated in this class can easily be transferred to other genres of photography and are especially relevant when it comes to skin retouching.
In this Photoshop class you’ll learn:
- How to retouch product images
- How to use Photoshop CS4/CS5
- How to remove reflections in bottles
- Photoshop Burn and Dodge tools
- How to use burning and dodging to smooth uneven tones
- How to use Photoshop Spot Healing Brush and Clone tool to remove blemishes
- Photoshop Patch tool
To learn more about product photography, visit our Product section.
If you have any questions about this course please post in the comment box below.
Comments
hi, i have a question for packshot, I know this video is just to demonstrate the tools and the technics that we can use in photoshop, but in general do we must do extensive retouch on each image for packshot project ? will that be feasible and profitable for us and the customer? thanks 🙂
Hi Peter, have you watched this live show yet? – https://visualeducation.com/class/pack-shots-product-photography/
hi, yes i did watched that video and was very helpful, thanks :)…. but in the video above here, i’m just curious about if we will do on each pack-shot a very detailed post-production work like you did in this video, will the work still be feasible and profitable for the customer and the photographer? specially if we are doing so many pictures at the same time.
Hi Peter, no of course it won’t it would be impossible to make profitable pack shots doing this amount of work to each image. This video however wasn’t strictly to tell you what you should apply just what can be applied. Also most ‘pack’ shots it’s not necessary as their ultimate goal is for an online catalogue and much less is needed as some of our other pack shot classes show. Also for example a few saved clever actions such as lightening the centre of a label can already be ready to go at the push of a button on a batch of pack shots where the label is in the same place, for example on 500 bottle of wine shots. Pack shots are ultimately about quantity and speed at an acceptable standard that they can be offered at a competitive price. The same problems of a the ‘pack’ not being that good to begin with exist for all photographers, but one thing to keep in mind is that when you’re very efficient in photoshop there is a lot you can do in 5mins of retouching. So if it takes less than an hour to set up your light for 500 bottles of wine, 3 mins to shoot each bottle and 5 mins of post work on each bottle then you have 67 hours of work to shoot 500 bottles say for a client and deliver them a good standard of images. What would you charge per pack shot and does that make it profitable based on 67 hours work (8.5 days) or can it be done quicker? I set up a wine bottle studio for a client and they were able to shoot one bottle every 30 seconds!
Interesting tutorial Karl thanks very much,. I would like to practice this workflow could you please send me the image without retouch in the download files there is only available the image of the final retouch. my email is .
thanks in advance .
Hi Maria, are you sure the downloadable image doesn’t have two layers, one retouched and one un-retouched?
Awesome tutorial. Thanks.