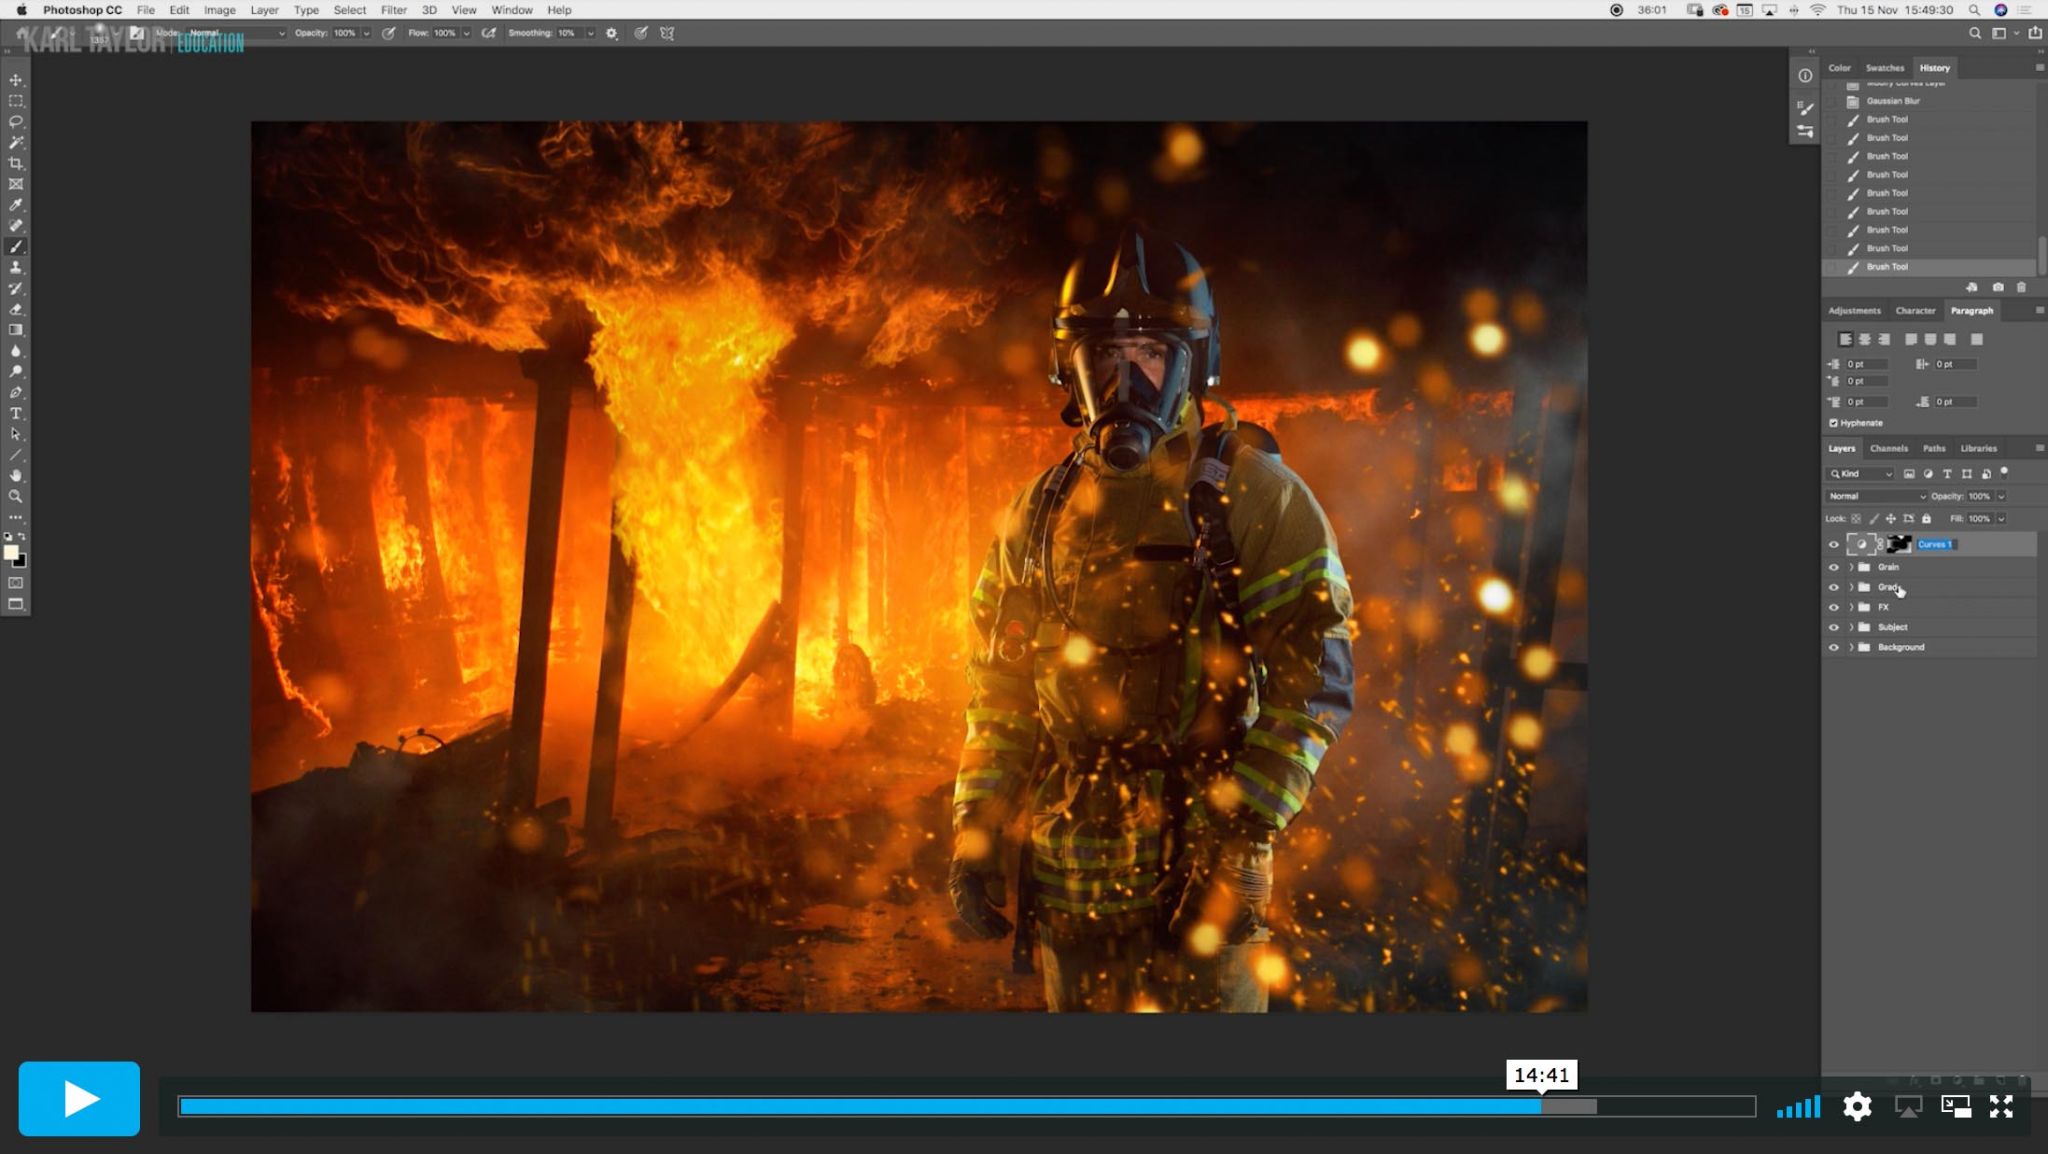

Final Grading and Adjustments
As the final stage of this composite, Viktor refines the colour and contrast of the overall image, helping to draw the eye in and add three dimensionality.
In this class:
- Using curves for colour adjustments
- The Gradient tool
- How adding noise can be useful
- How to add a vignette to an image
In this final compositing class, Viktor demonstrates how to use Curves adjustments to adjust contrast and colour. He also explains why he uses the simple technique of adding noise to an image and shows how to do this. To finish off the image, Viktor shows how to apply a subtle vignette you help guide your eye. To learn more about these techniques, watch chapters five, seven and eight, where Viktor goes into more detail on colour grading the subject and background.
It’s important to note that the skills taught throughout this course are easily transferable to any other composite work. Although the content and subject may vary, the tools and techniques can still be applied. For more tips on compositing, read our ‘Top tips for compositing‘ article.
Final composite image:
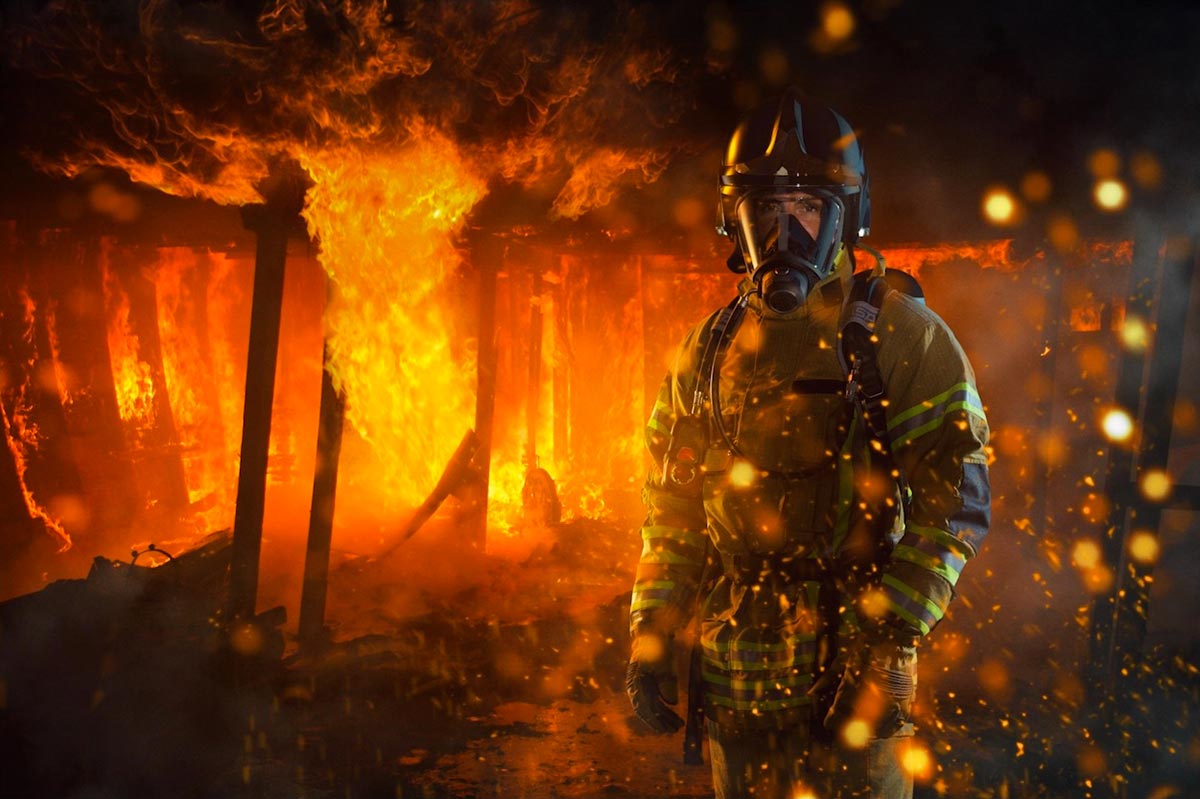
The final composite, created using a combination of stock images, professional photos and Photoshop tools.
To learn more about the Photoshop techniques covered throughout these classes, visit our Post-Production section. There you’ll find everything from complete overviews of the Photoshop interface to how to retouch product, beauty, fashion and interior images. Our Photoshop for Photographers classes cover essential retouching skills while Advanced Photoshop for Photographers, presented with Viktor, covers professional techniques for those already confident using Photoshop.
Questions? Please post them in the comments section below.
Comments
Awesome tutorial! I can’t explain my feeling that how much I learnt from these compositing tutorials; I hope to see more of Victor and you, making such tutorials! Good luck to both you guys and Thank you so very much again dear Karl!
Thank you.
Magnificent tutorial.
I was afraid going into this that it would be too Photoshop specific since I’ve switched to Affinity Photo and Capture One due to Adobe’s whole subscription only policy, and personally like them so much better than Photoshop and Lightroom anyway. But that being said, I must say that this was so much more than just how to use Photoshop.
The how to’s in Photoshop were still helpful as the tools are similar enough in Affinity Photo and Photoshop to get the idea, but the if, when, where, what, and why’s you both took the time to explain in detail are truly invaluable.
Thank you both for taking the time to share so much valuable information.
Thank you Derek.
Its really Amazing work is learn a lot of information thanks for Viktor & Karl
im enjoying this bit by bit and its totally worth it ! thank you karl !
Thank you.
One a master of light, the other a master of photoshop, need I say more… brilliant tutorial.
Thank you.
This course was insane. I learned so many new things, wow. Absolutely stunning!
Thanks Eric.
Wonderful tutorial Karl! Victor is a great teacher, you should bring him in more frequently. Thank you very much for sharing your knowledge guys. I learned a lot! Cheers!
Cheers Daniel. He’ll be back 🙂
Amazing compositing course guys.. Quite inspiring.. I enjoyed every little details. Now it’s time to get to work and create something myself.
Thanks again.
P
Thanks Paolo.
Amazing and helpful tutorial as always Karl
Thank you and can’t wait for the next ones 🙂
I have to say this is one of the best tutorial on compositing and use of Photoshop tools,
Great job Viktor you to Karl.
Thank you Jeff
This is by far the best and most detailed photoshop tutorial I have ever watched – what is this, 6-7 hours?!
Thanks a ton, Karl! The content you create, especially with Viktor, is exceptional.
Thank you so much for this feedback, great to hear.
Very nice course!!!!!
Thank you.
Absolutely brilliant tutorial guys. So many new techniques and so well taught. I really enjoy what you and Victor achieve when you get together. Thank you for taking the time to go into such detail and explain everything so carefully. Inspirational.
Thanks Andrew.