


Clinique Post-Production 2: Cleaning Bottles and Creating Reflections
This second chapter of the Clinique shoot post-production focuses on cleaning up and improving the bases of the four bottles.
In this class, Karl explains the importance of taking the time to focus on and fix little details such as reflections, highlights and contrast. He works on improving the base and lid of the left-hand pot, creating a new reflection and improving the gradient and contrast on the silver lid, cleaning up the bases of the green and purple bottles and removes unwanted highlights on the cap of the right-hand orange bottle. Using techniques such as duplicating, flipping and warping layers and cloning away highlights, you’ll see how small adjustments can make a big difference.
In this class:
- How to create a reflection
- How to adjust gradient lighting on a silver lid using the Clone and Brush tool
- How to improve bases of bottles
- How to use Warp tool to adjust duplicate layers
- How to remove highlights using Clone tool
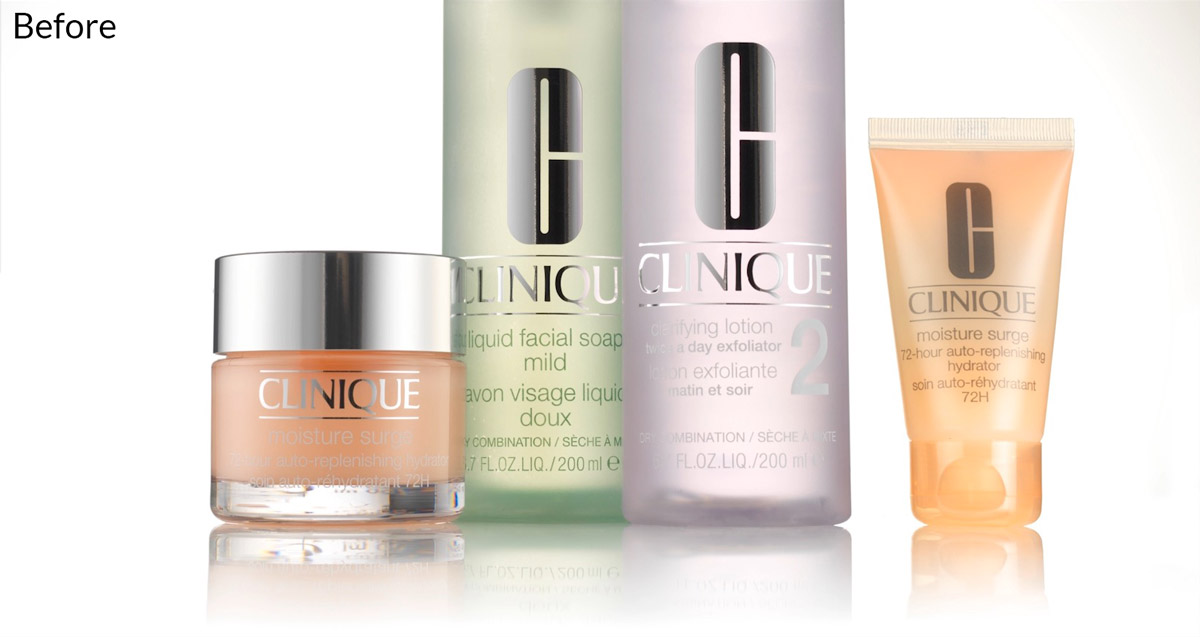
Before retouching the bases of the bottles.
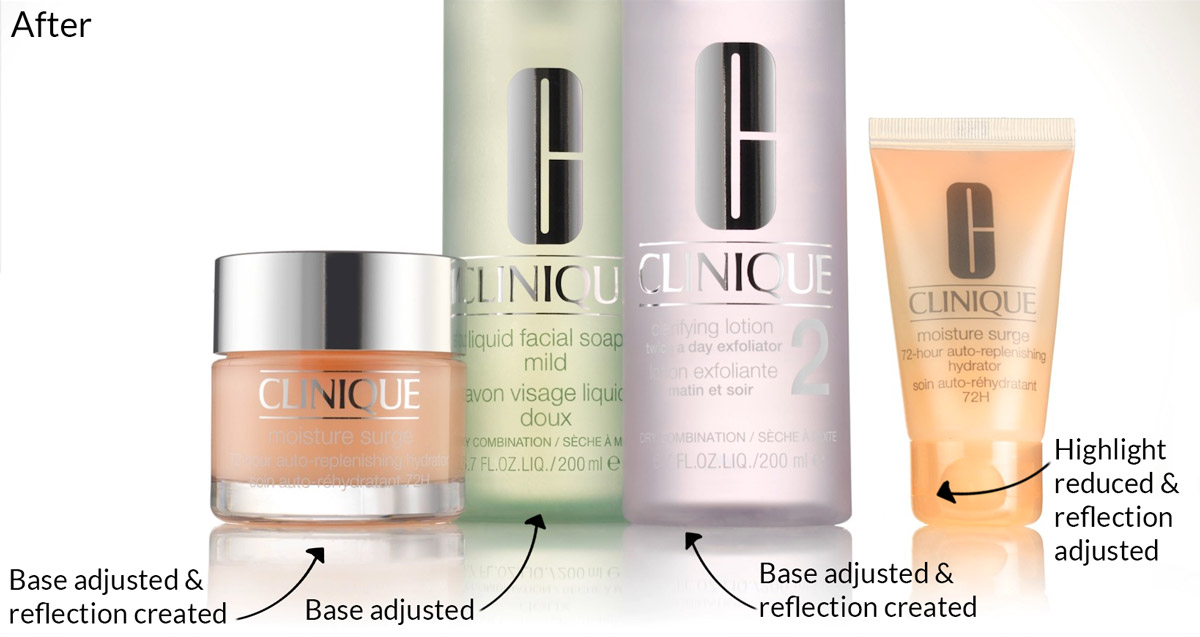
After retouching the bases of the bottles and adjusting the reflections.
To see how this image was shot, watch the Clinique Style Advertising Shoot classes.
Questions? Please post them in the comments section below.